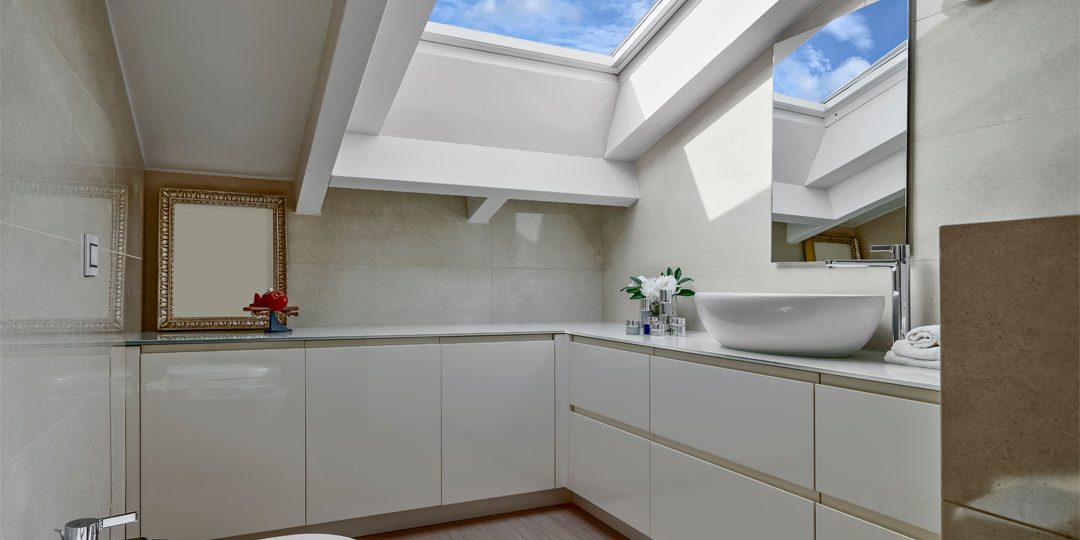
The cost of installing a skylight can vary quite a bit, depending on several factors. Here’s a breakdown to help you estimate:
Cost per square foot:
- Material:
- Fixed skylight: $150-$500
- Venting skylight (manual): $300-$600
- Venting skylight (electric): $600-$1,000
- Installation: $500-$3,000 per skylight, although DIY kits can be cheaper.
Average total cost:
- Size:
- 2′ x 4′ fixed: $800-$2,500
- 3′ x 5′ venting (manual): $1,500-$4,000
- 4′ x 6′ venting (electric): $2,400-$5,500
Skylight Glass Replacement Cost
Replacing the glass in a skylight can be a more affordable option than a complete skylight replacement, especially if the frame and other components are still in good condition.
Cost per square foot:
- Glass type:
- Standard tempered glass: $50-$150
- Low-emissivity (Low-E) glass: $75-$200
- Self-cleaning glass: $100-$250
- Installation: $50-$150 per hour, with labor typically the larger portion of the cost.
Average total cost:
- Size:
- 2′ x 4′ standard glass: $500-$1,500
- 3′ x 5′ Low-E glass: $800-$2,500
- 4′ x 6′ self-cleaning glass: $1,200-$3,000
Skylight Repair Costs
The cost of skylight repairs can vary depending on the specific issue you’re facing, but here’s a breakdown to give you a general idea:
Type of Repair:
- Leaking skylight: $225-$800
- Cracked or broken glass: $150-$600
- Seal replacement: $75-$250
- Flashing repair: $100-$400
- Motorized skylight repair: $150-$500 (additional labor for electrical components)
Factors Affecting Cost:
- Severity of the damage: Extensive leaks or large cracks will cost more to repair than minor issues.
- Accessibility of the skylight: Skylights on steep roofs or in hard-to-reach locations might require special equipment or scaffolding, increasing labor costs.
- Materials and labor costs: The type of materials used for repairs and the local labor rates will impact the total cost.
- DIY vs. professional repair: Hiring a professional is typically recommended, but DIY repairs can be cheaper if you’re handy and confident in your skills.
Average Total Costs:
- Simple leak repair: $225-$400
- Replacing cracked glass: $300-$500
- Seal and flashing repair: $150-$350
- Motorized skylight repair: $300-$600
Sealing & Weather-Proofing Skylights
Sealing and weatherproofing your skylights is crucial for maintaining their functionality and preventing leaks, drafts, and energy loss. Here’s a comprehensive guide to help you tackle this task:
Materials:
- Caulking: Use high-quality silicone caulk specifically designed for exterior applications and suitable for the material of your skylight frame (e.g., silicone for metal, polyurethane for plastic).
- Flashing: If replacing flashing, choose a material compatible with your roof and skylight (e.g., metal flashing for metal roofs).
- Sealant tape: Self-adhesive butyl tape can be used for additional sealing around the skylight curb.
- Cleaning tools: Scraper, wire brush, rags, and cleaning solution.
- Safety gear: Gloves, safety glasses, and proper footwear for working on a ladder or roof.
Steps:
- Preparation:
- Clean the area: Thoroughly remove dirt, debris, and old caulk around the skylight frame and flashing.
- Inspect for damage: Check for cracks, tears, or gaps in the caulk, flashing, or skylight itself. Address any underlying issues before sealing.
- Flashing:
- Assess flashing condition: If the flashing is damaged or compromised, replacing it might be necessary. Consult a professional if unsure.
- Seal around flashing: Apply a generous bead of caulk between the flashing and the skylight frame and roof shingles.
- Caulking:
- Remove old caulk: Use a scraper and wire brush to carefully remove all traces of old, cracked, or failing caulk.
- Apply new caulk: Cut the caulk tube tip at an angle and apply a continuous bead of caulk along all joints between the skylight frame and the roof. Ensure proper sealant depth as per the caulk manufacturer’s instructions.
- Tooling: Use a caulking tool or your gloved finger to smooth the caulk and ensure proper adhesion.
- Sealant tape (optional):
- For added protection, apply self-adhesive butyl tape around the skylight curb before installing the flashing.
Additional Tips:
- Consult the skylight manufacturer’s instructions: Specific recommendations for sealing and weatherproofing might vary depending on your skylight model.
- Work in good weather conditions: Avoid rain, snow, or extreme temperatures while sealing.
- Regular maintenance: Inspect your skylights periodically for signs of leaks or failing sealant and repeat the sealing process as needed.
- Professional help: If you’re unsure about any aspect of the process, don’t hesitate to consult a qualified roofer or skylight specialist.
By following these steps and tips, you can effectively seal and weatherproof your skylights, ensuring their longevity and optimal performance. Remember, proper maintenance is key to enjoying the benefits of natural light and ventilation that skylights offer while preventing costly water damage and energy loss.
GoGreen Daylight Systems, LLC In Surprise, Arizona
GoGreen Daylight Systems, LLC is a Skylight contractor and installer of top-quality Tube Skylights, Traditional Skylights, Solar Attic Fans, and Garage Fans in Phoenix, the West Valley and East Valley. Contact us today for a free quote!


